The Design Process
Have you ever wondered what actually goes into making jewelry? There are many steps to the design process, from inspiration to fruition and all of the nitty gritty in between.
So much more goes into running a jewelry brand…this is just the the tip of the iceberg. When you purchase a piece of jewelry from a small business you aren’t just buying their product. You are supporting a dream. You are contributing to their livelihood, making all of the sleepless nights worth it, and giving them the chance to keep doing what they love.
get inspired
First things first, you need inspiration. A collection is nothing without it; it’s like the backbone that connects all the pieces. I usually start with Pinterest. I’m a huge mood board nerd. I used to love cutting up magazines when I was younger, but Pinterest makes it so much easier to save ideas all in one place. So we’ll sub out the scissors for the Pin button here.
My first collection was inspired by lost treasure, an idea that has always been interesting to me. So I went with that and started putting together images that resonated with me. This helps as I begin to pick out stones and gives me ideas for shapes and textures.
Once you get your mood board together, you can start sketching designs. Pull out some blank paper, lay out your stones and grab a pencil. This is my favorite part!
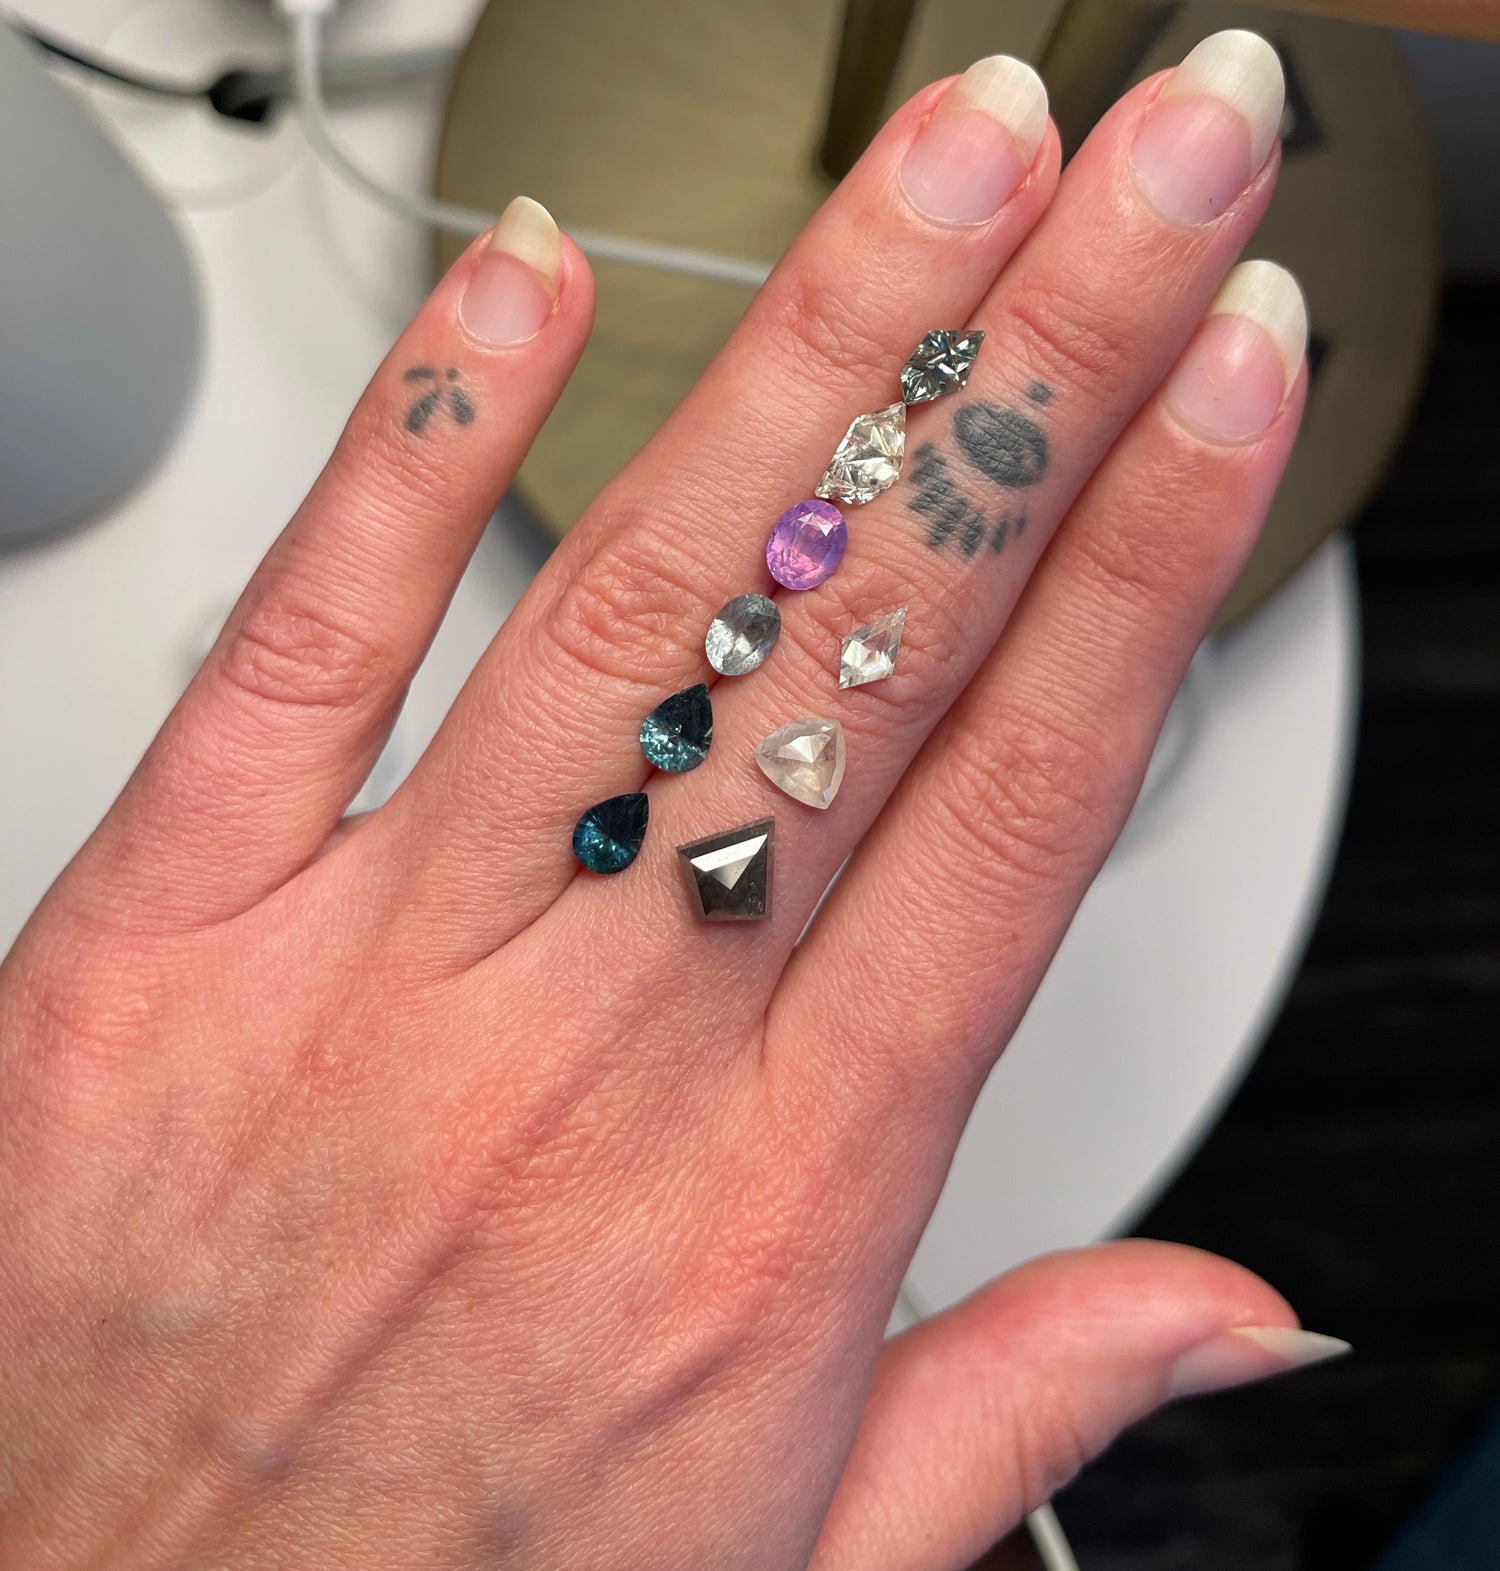
finding gems
If you aren’t a gemstone hoarder like me, you’ll probably need to source some. I’ve done hours and hours of research to find the gemstone dealers I trust. The best way to find stones is by searching through Instagram, Etsy, a good ol’ Google search, or gem shows! This step takes time. It’s important you do a thorough scan through their website to make sure they are conflict free, legitimate, and knowledgeable. I’ve been scammed before, and trust me, it’s no fun. Anyway, after sketching out my designs (sometimes I can design a collection in a day, other times I go through pages of designs until I find the right one) and picking out stones, it’s time to put them into wax.
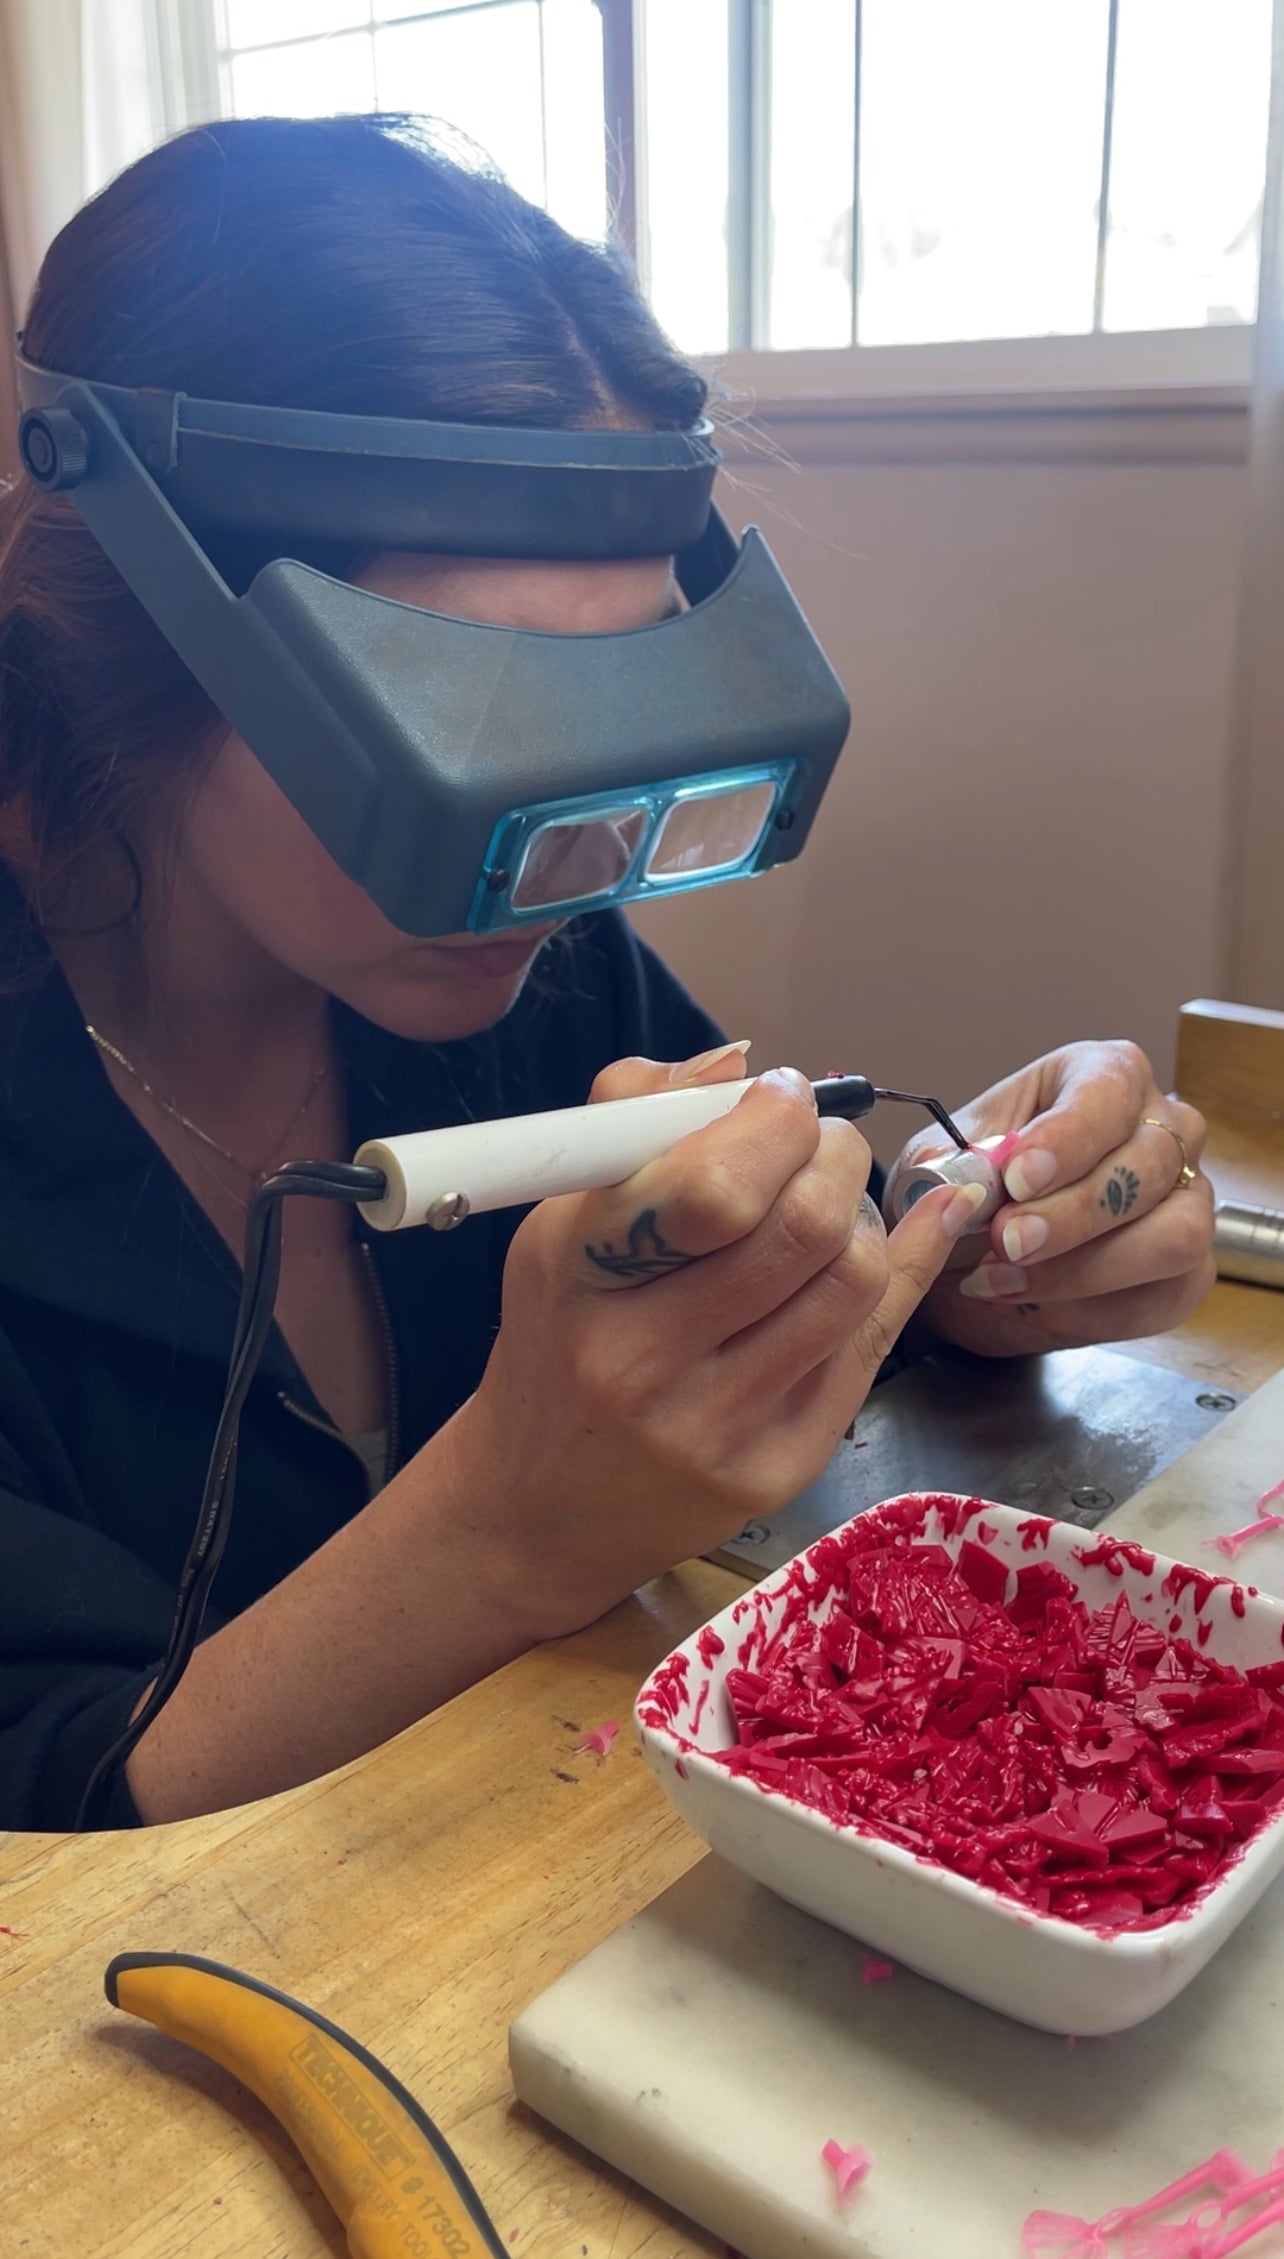
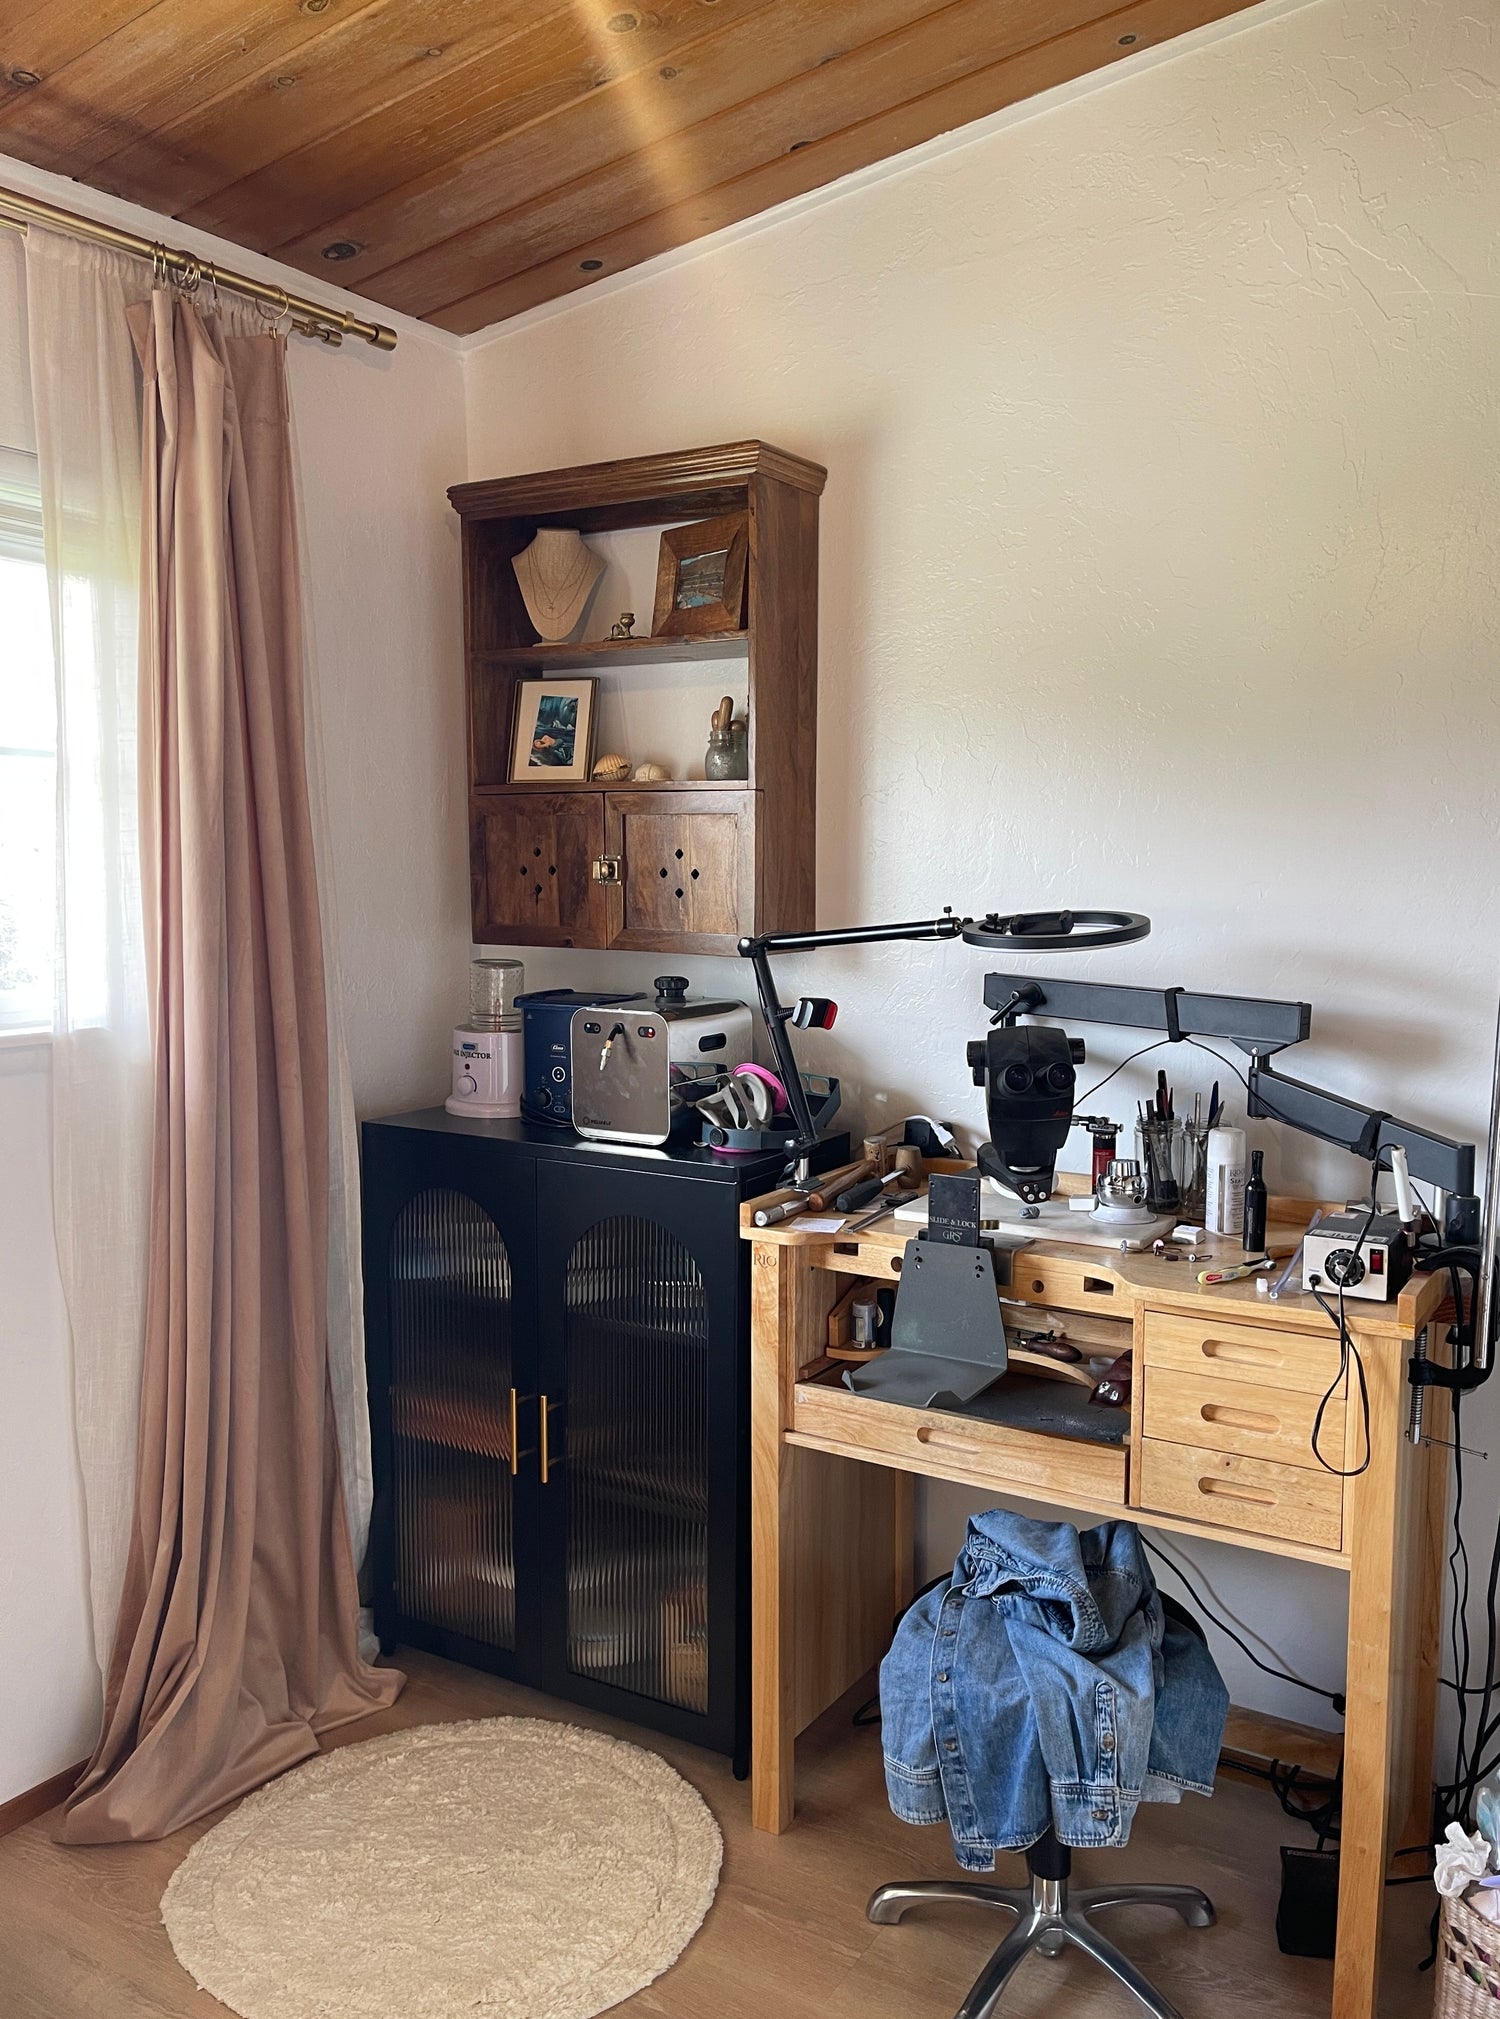
working with wax
Depending on my design, I will either choose to work with melted or hard wax. There are a ton of options for wax. After trial and error, I’ve decided I like to work with melted wax for delicate designs and hard wax for rings that require more detail. If you go the melted wax route, you’ll need to heat up a wax pick over a flame, dip into a bowl of wax chips, and drip the melted wax to create your design, this is called the build up method. If you choose hard wax, you’ll need a wax file, various carving tools, and I personally like to use my flex shaft rotary tool to speed up the carving process.
After I make each wax ring and make all of my final touches, I package them up super carefully, and send them to a casting house. I currently work with multiple casting houses; I learned the hard way not to rely on just one. The casting process is super cool, it's actually an ancient technique called lost wax casting. Let me walk you through the summed-up version.
last but not least
I primaritly use a hammer handpiece for bezel settings and pliers for prong settings. Using a hammer handpiece is scary at first but I have found it to be the most effective way to set stones. This technique is done by placing the punch tool against the wall of the setting, and hammering the punch tool to move the metal over the stone. Needless to say, at the end of a long day of setting, my bench is a complete disaster.
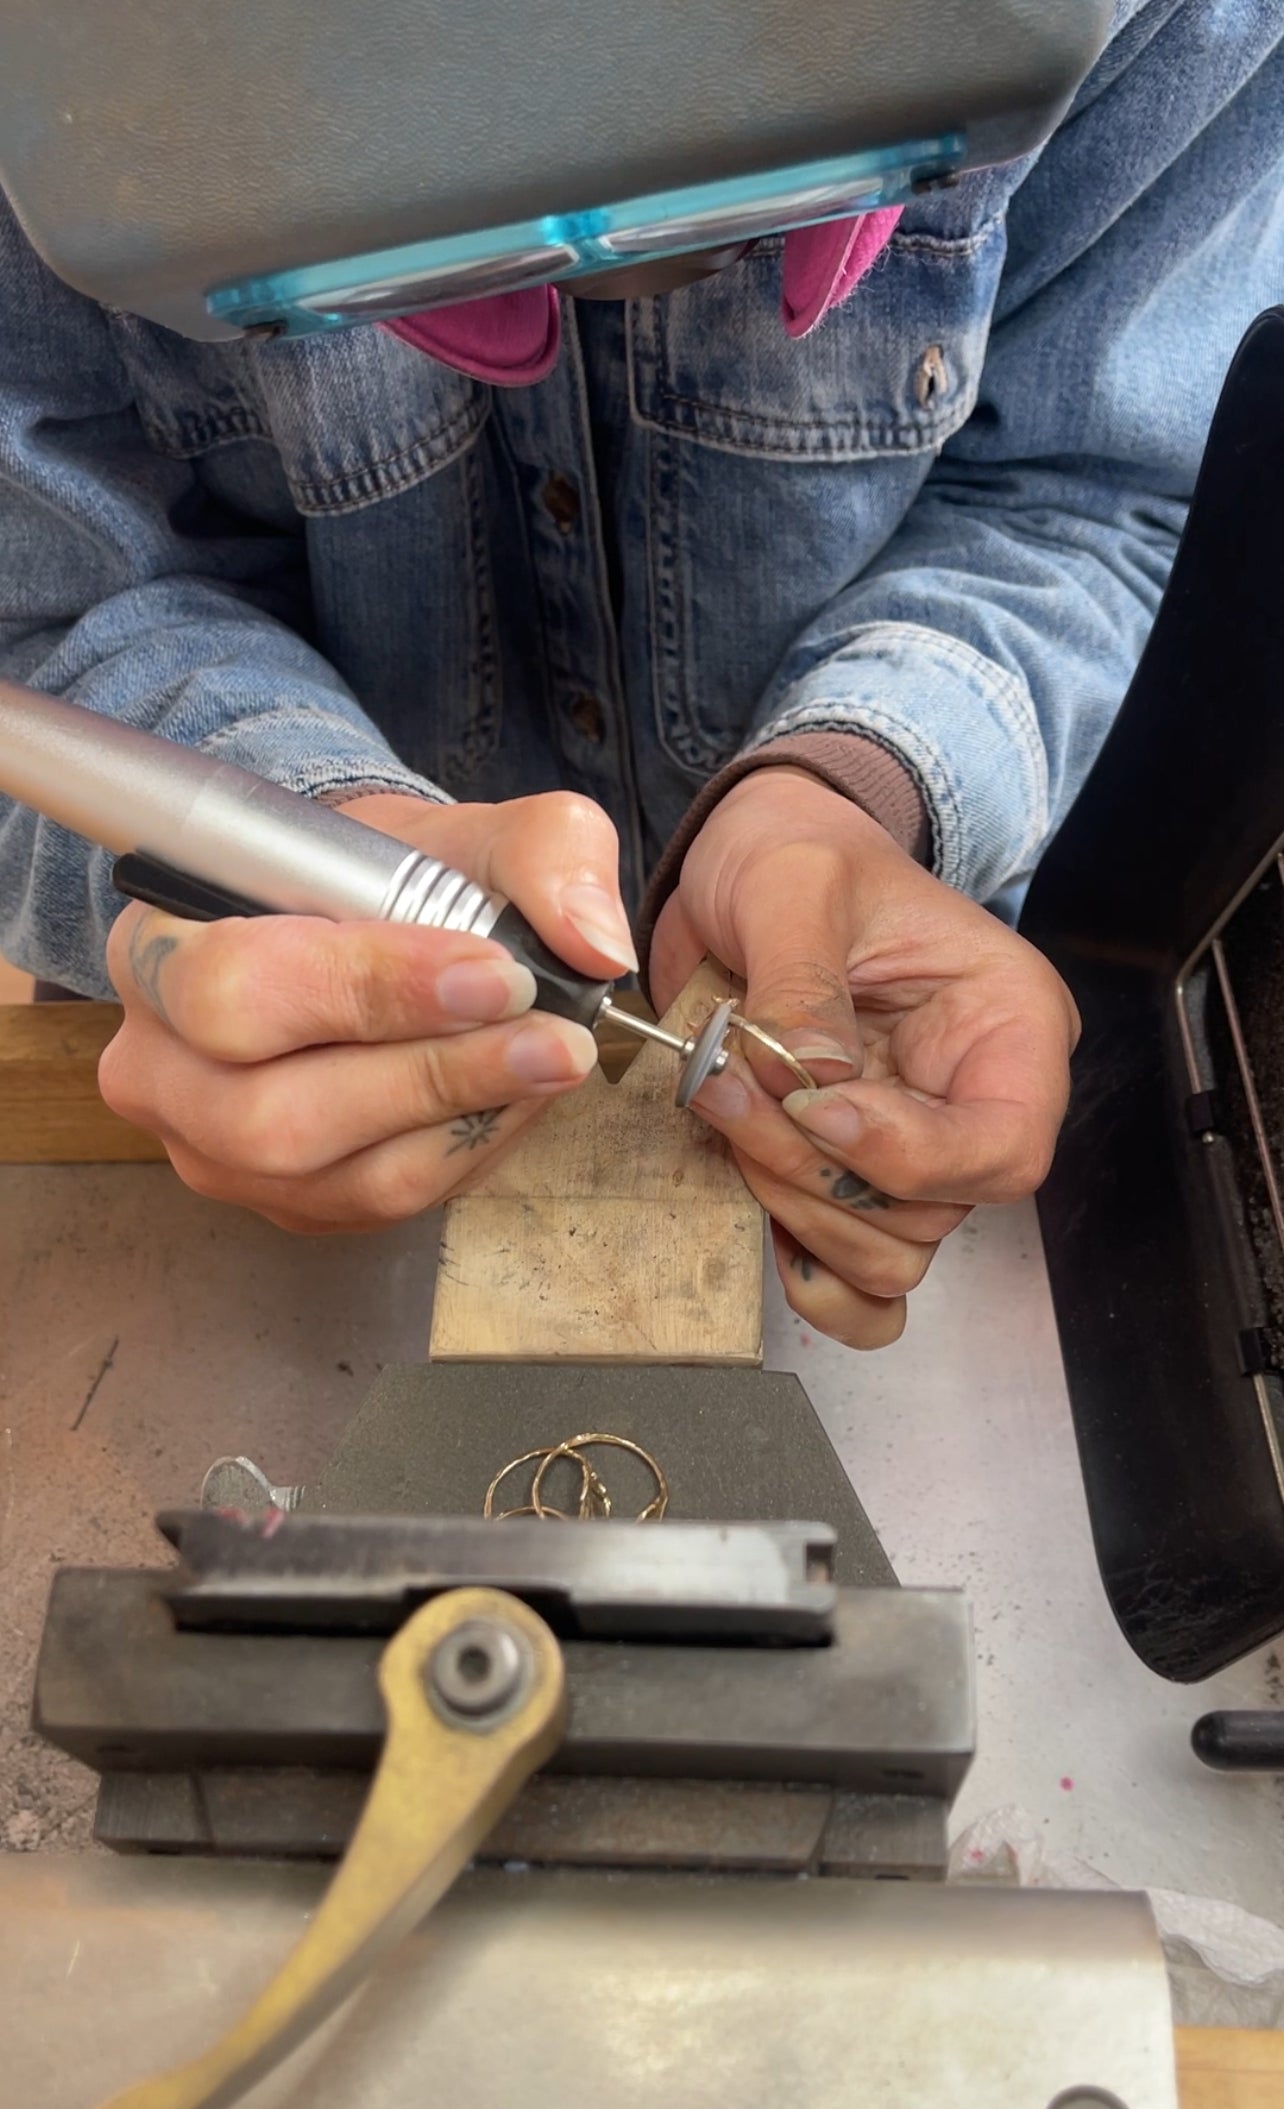
When you’ve set all of your stones, it’s time to polish. I actually love this step; it always feels like the hard part is over and now it’s time to make everything shine. I’ve been using a variety of sanding discs and silicone discs with my rotary tool and finishing off with some polishing rouge.
You might think that was the last step…oh no, no, no. Everything that comes next all boils down to marketing the pieces you just made. People have to see it right? This is where you’ll price it all out, photograph everything for the listings, take photos and videos for social media. Then you have to write all of the descriptions, plan out posts, and write out email blasts.
If you want to take a peek into my journey, head to my Instagram! I’m always taking you guys behind the scenes and sharing the process. Have any questions? Let me know, I would love to chat with you!